To integrate Omni Channel with your website, follow these steps:
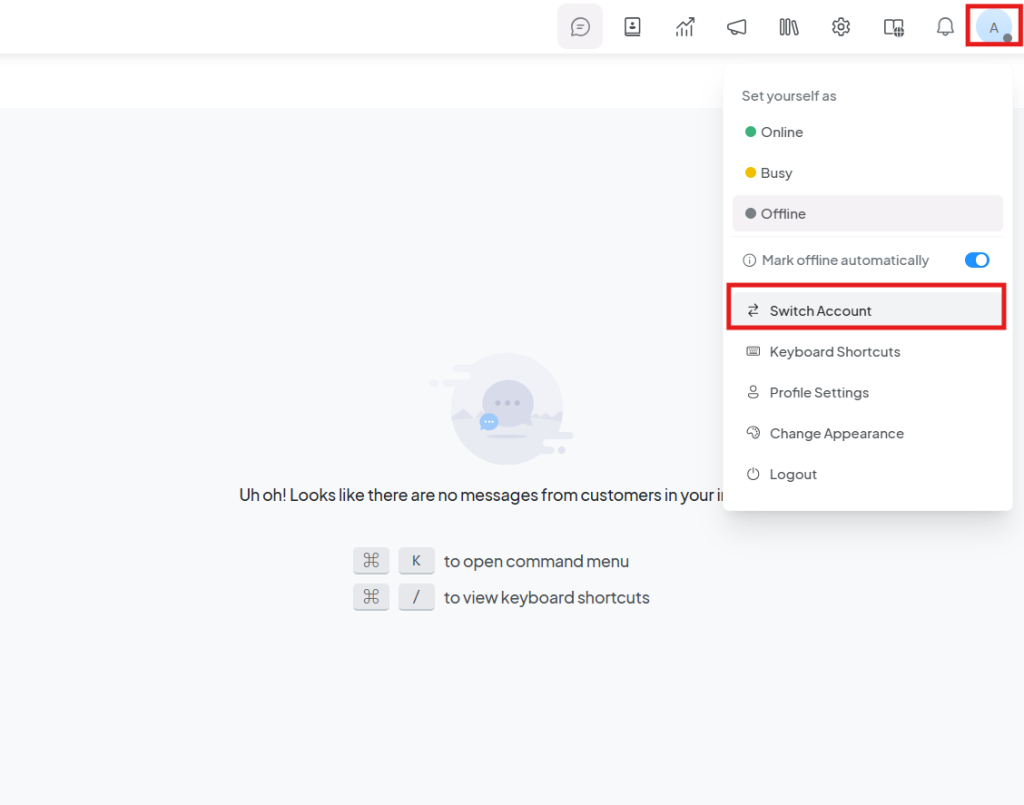
Log in to Your Account
- Navigate to the top-right corner and click on your Account Photo.
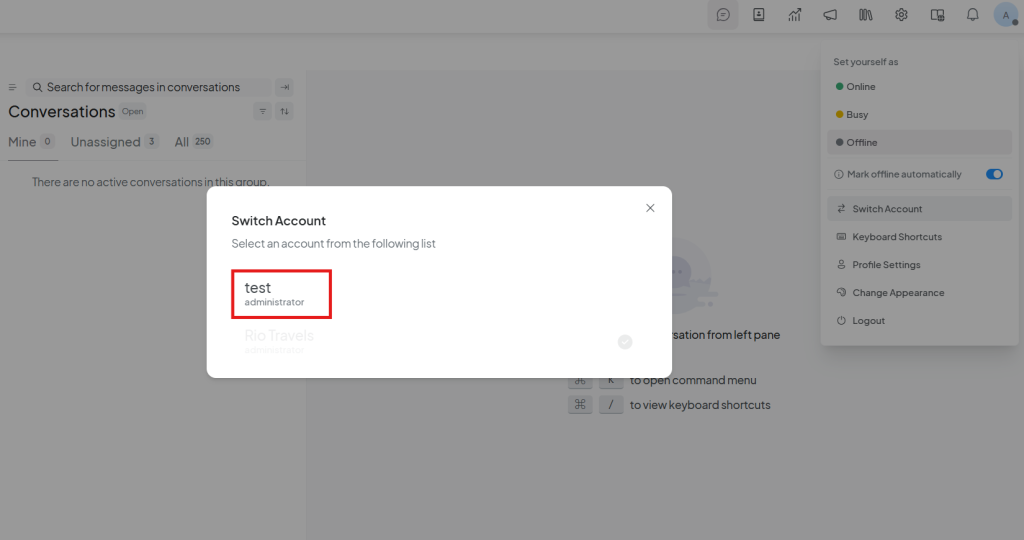
- In the dropdown menu, click on Switch Account.
- Select the account you have created.
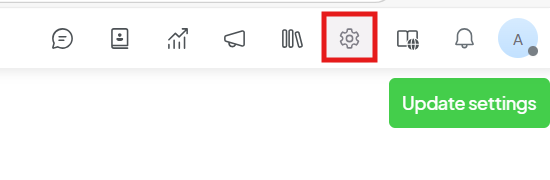
Access Settings
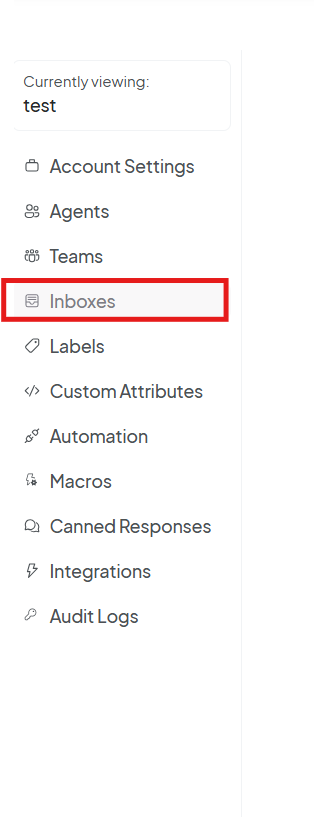
- After selecting your account, go to the Settings section in the navigation bar at the top.
- In the sidebar, click on Inboxes.
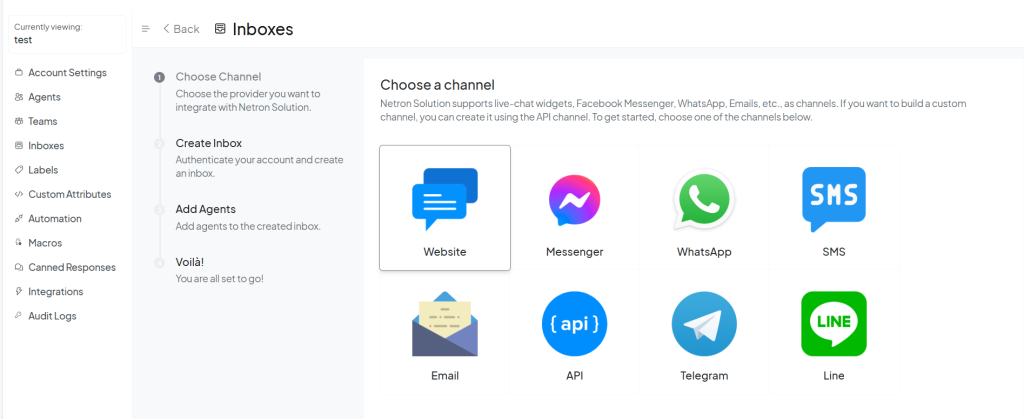
Start the Integration
- To start the integration, click the Add Inbox button.
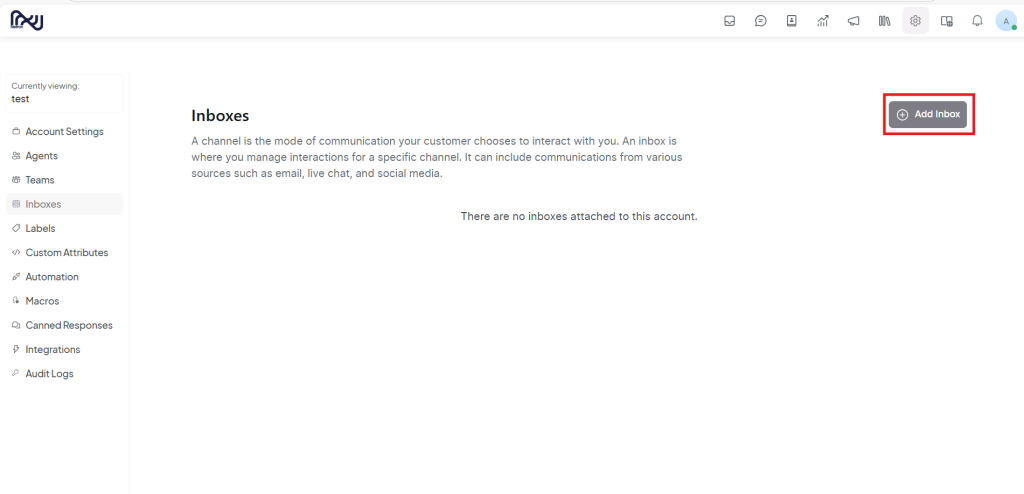
- From the options, select Website as the inbox type.
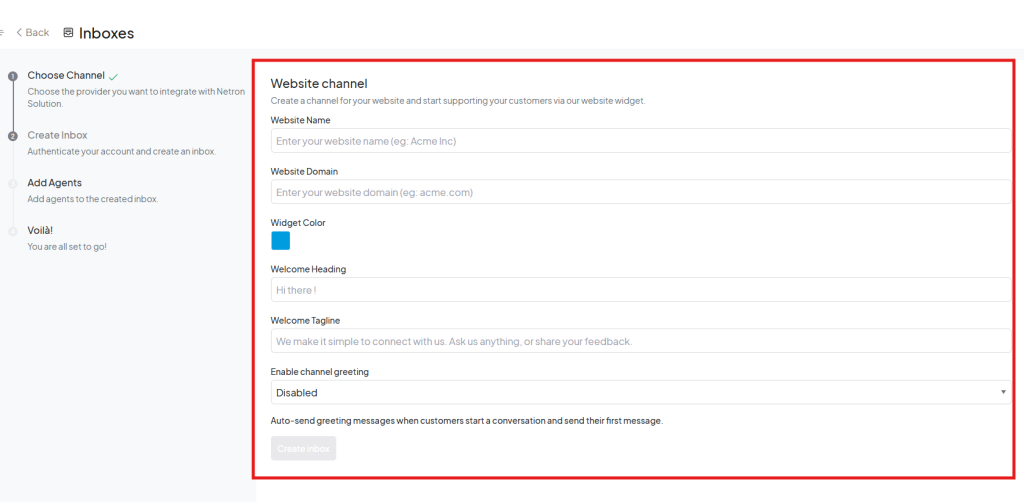
Configure Website Information
- Fill out the necessary information:
- Name of the Website: Provide the name of the website.
- Domain: Enter the domain of the website.
- Color: Choose a color that matches your branding.
- Welcome Heading: Add a greeting message for visitors.
- Welcome Tagline: Enter a short description or tagline.
- Enable Channel Greeting: If you want to display a greeting on the channel, toggle this option.
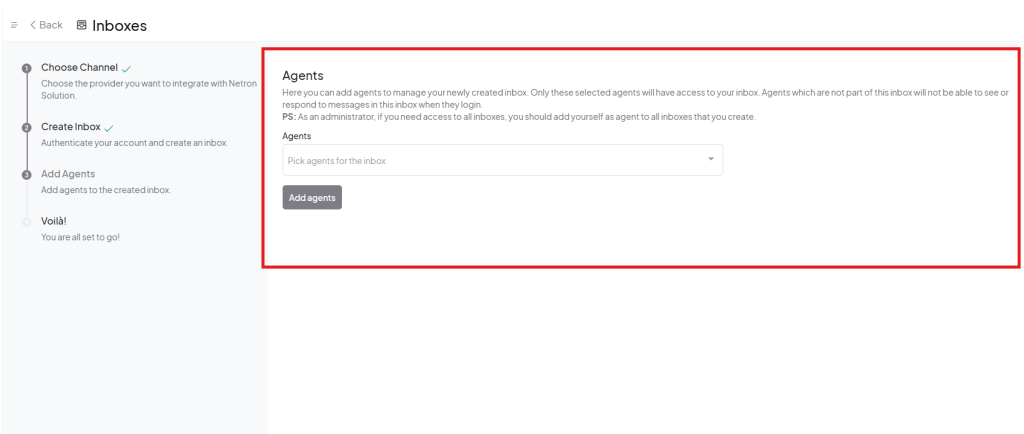
Add Agents to the Inbox
- Add agents to your inbox by selecting the Add Agents button.
- Choose the agents you want to assign.
- You can edit or add agents later, but be sure to add at least one agent (preferably your account).
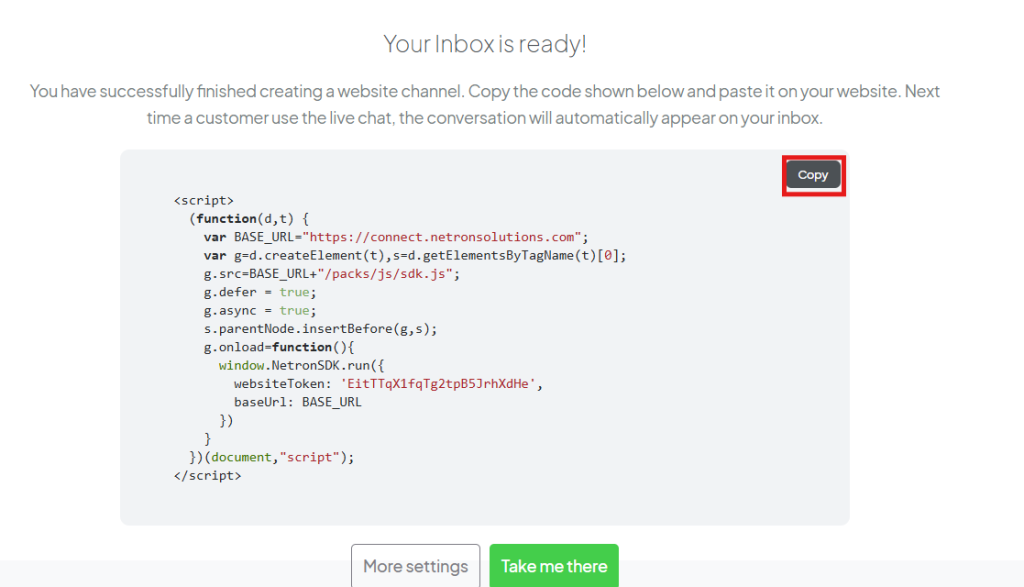
Generate and Copy the Script
- Once you have filled in the necessary details, a script will be generated.
- Copy this script and place it in the header section of your website.
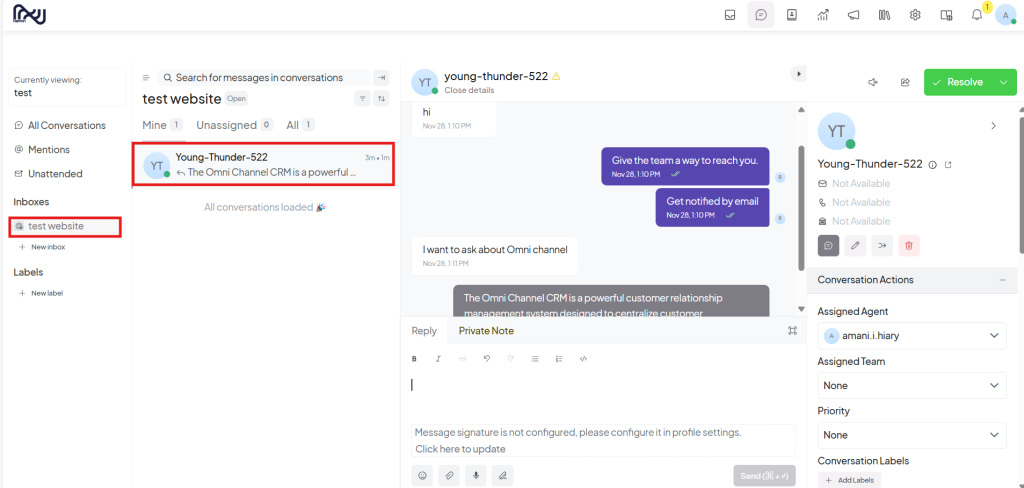
Verify the Integration
- After adding the script, click on the Take Me There button.
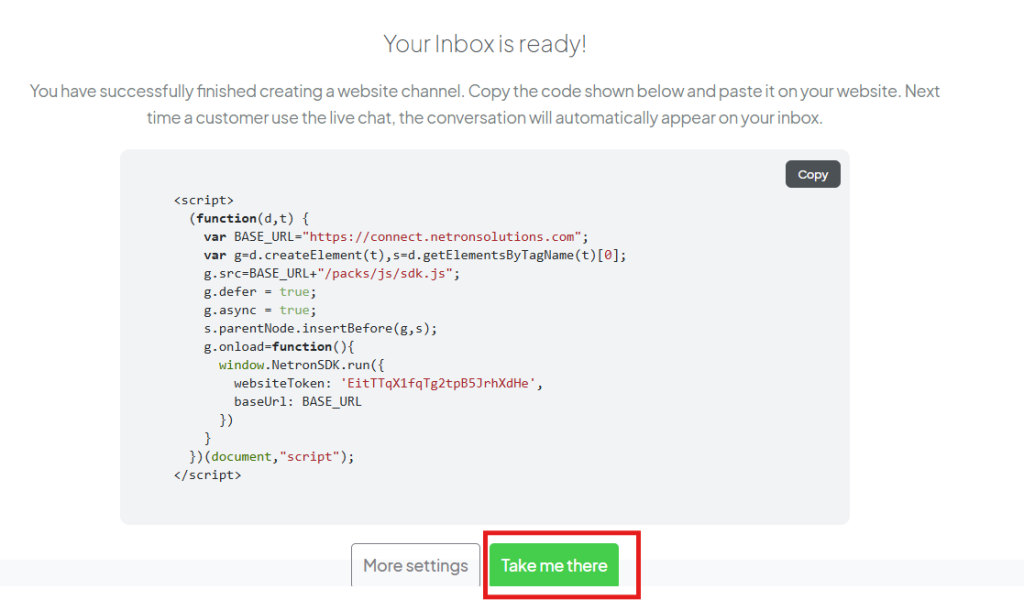
- You will be redirected to the website where the Omni Channel is now integrated and live.

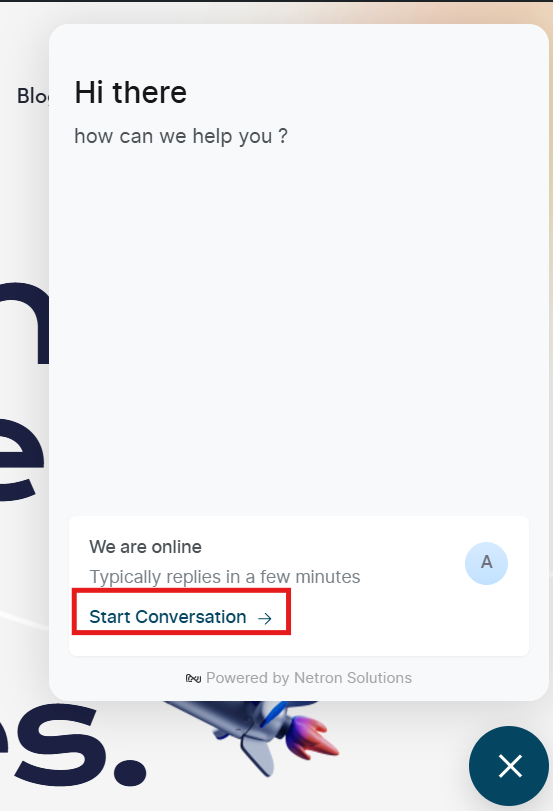

- The Omni Channel system will also be updated with the new website integration.