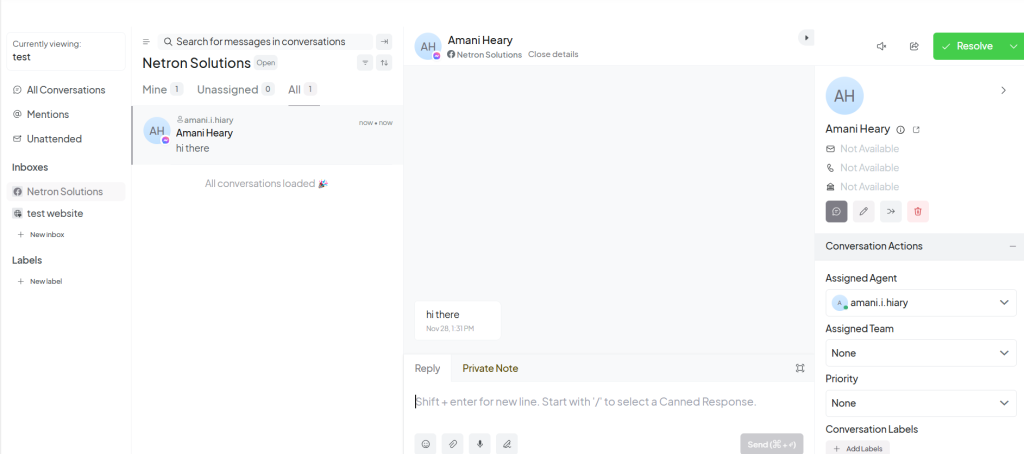
Follow these steps to integrate your Omni Channel with Facebook Messenger and Instagram:
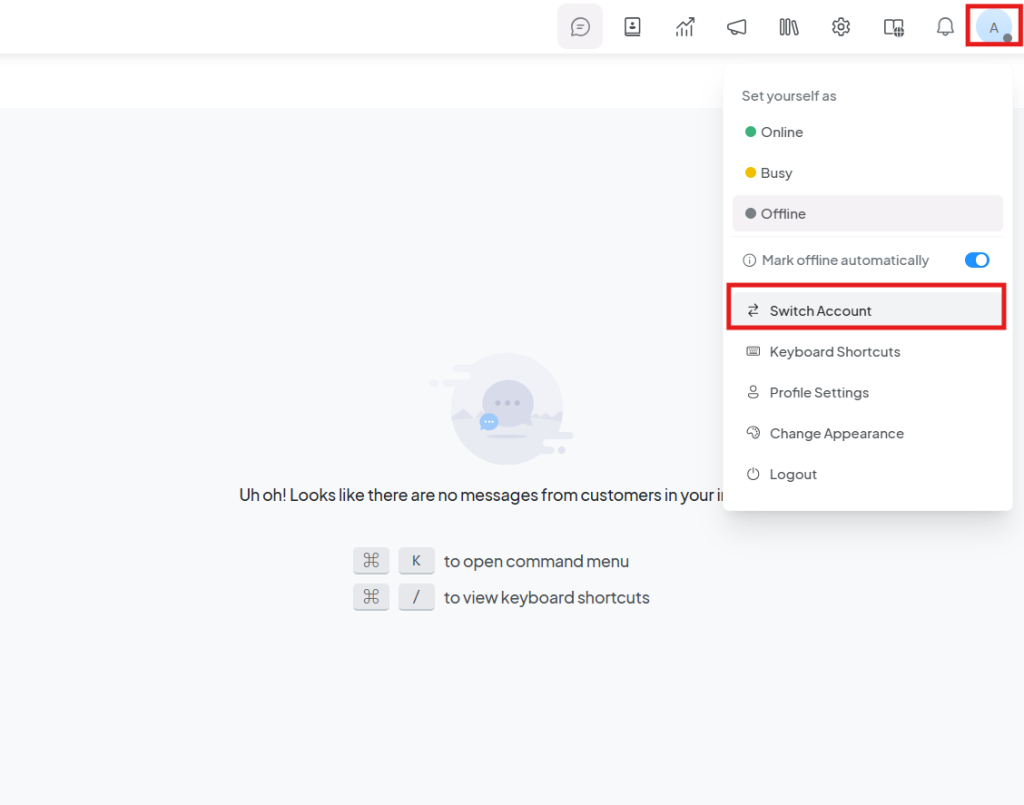
Log in to Your Account
- Navigate to the top-right corner and click on your Account Photo.
- In the dropdown menu, click on Switch Account.
- Select the account you have created.
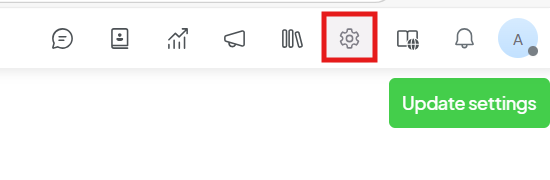
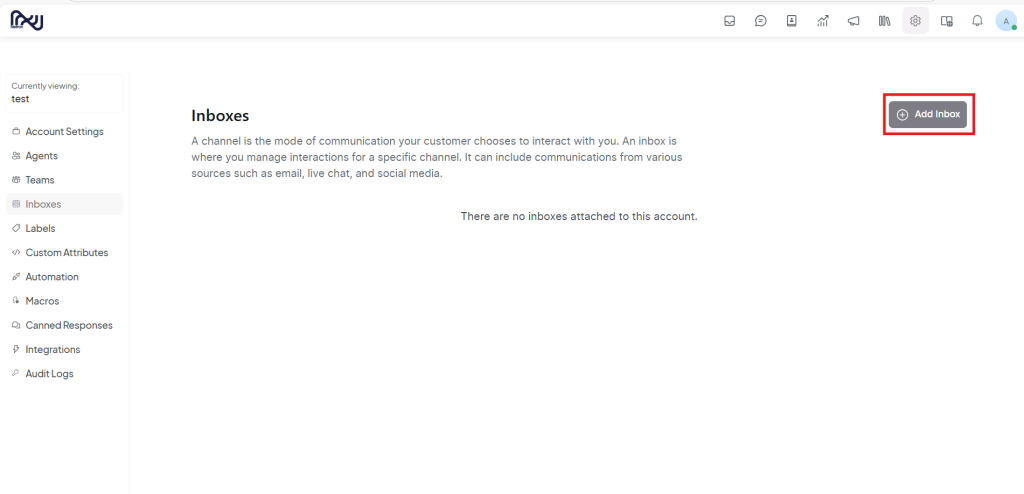
Access Settings
- After selecting your account, go to the Settings section in the navigation bar at the top.
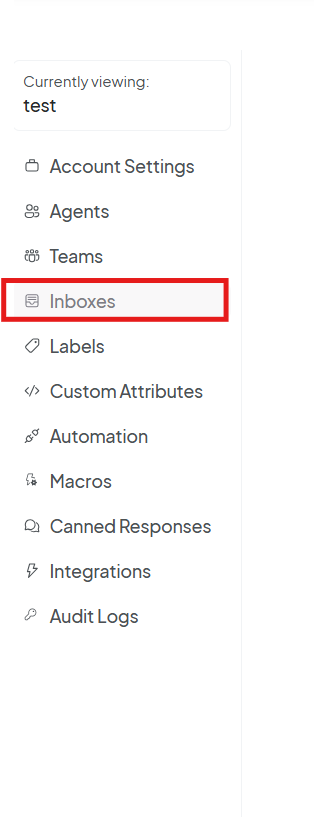
- In the sidebar, click on Inboxes.
Start the Integration
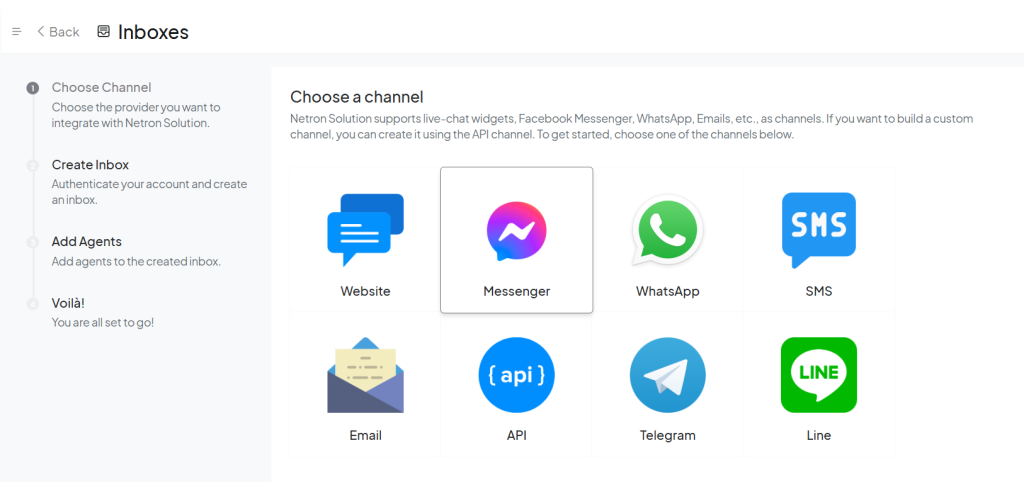
- To begin the integration, click on the Add Inbox button.
- From the options, select Messenger.
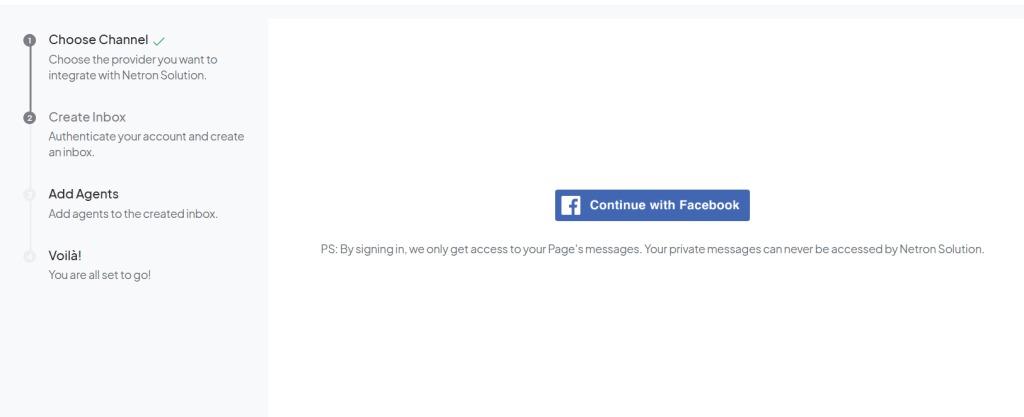
Allow Access and Select Your Page
- Grant the necessary permissions to allow access to your Messenger account.
- Choose the Facebook or Instagram page you want to integrate with. Ensure you have the required admin permissions for that page.
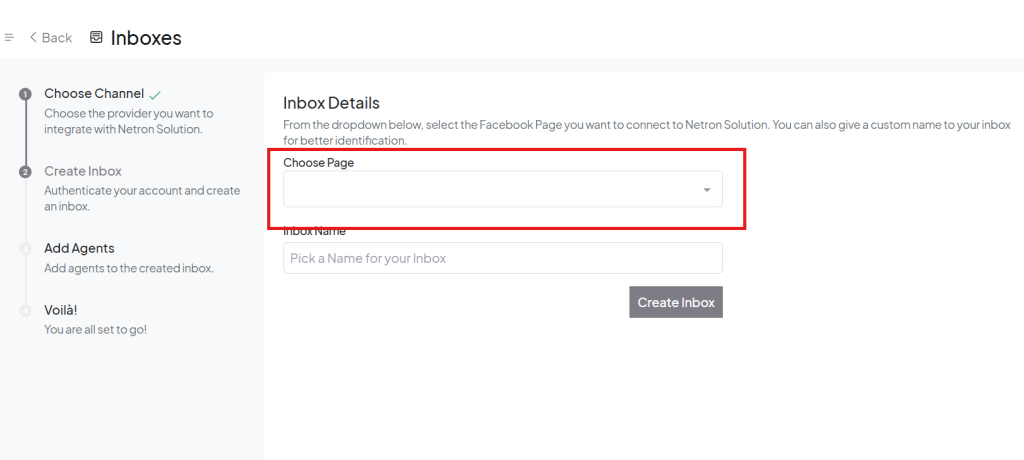
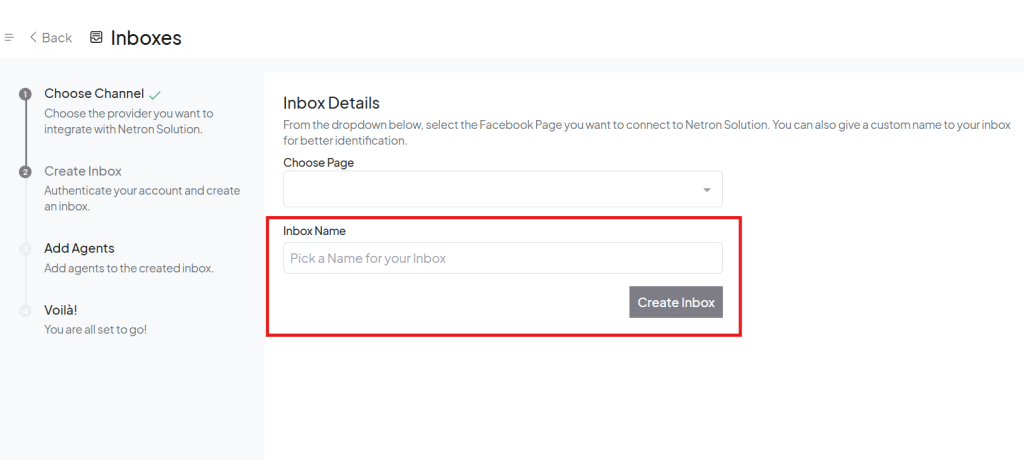
Create Inbox Information
- Enter a name for the inbox that will help you identify it easily.
- Once you’ve filled in the information, click the Create Inbox button.
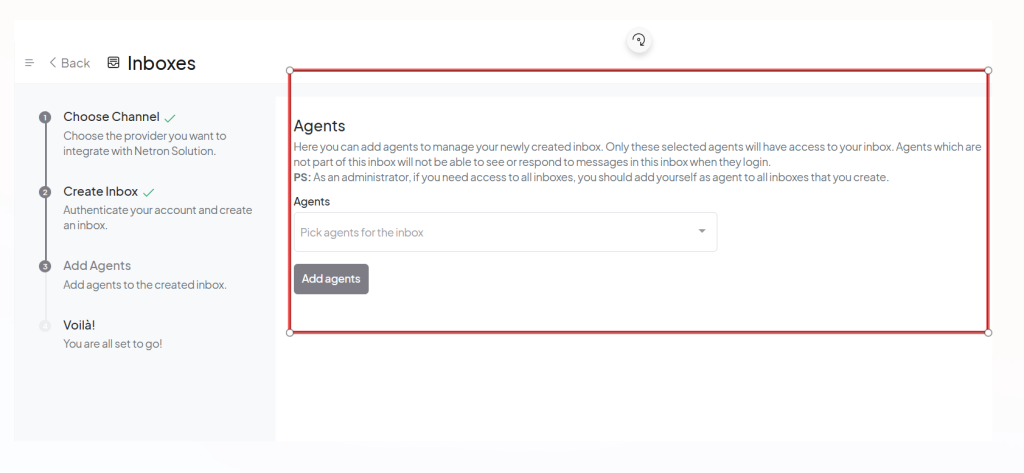
Add Agents
- Add agents to the inbox by selecting the Add Agents button.
- Choose the agents you want to assign to this inbox.
- You can add and edit agents later, but make sure to add at least one agent.
Verify the Integration
- After setting up the integration and adding the agents, click the Take Me There button.
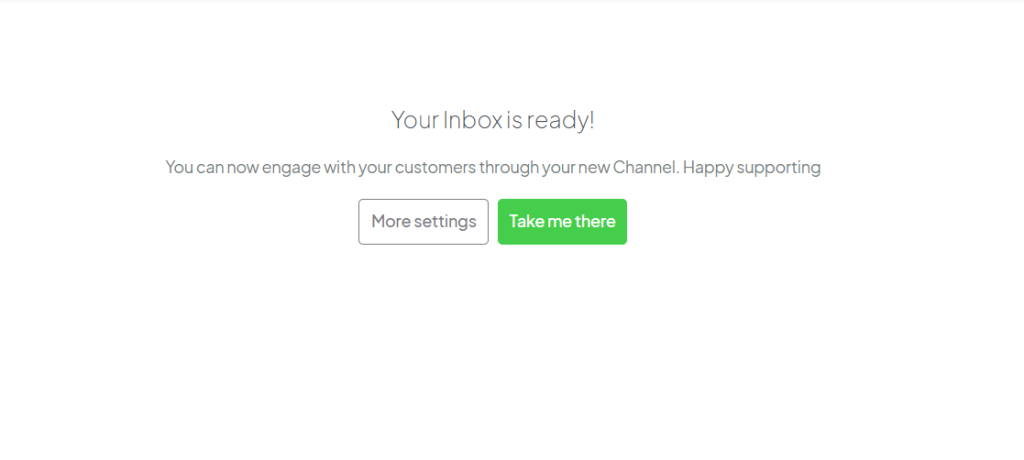
- You’ll be redirected to Messenger, where the Omni Channel integration will be live, and you’ll see the updated inbox in your system.