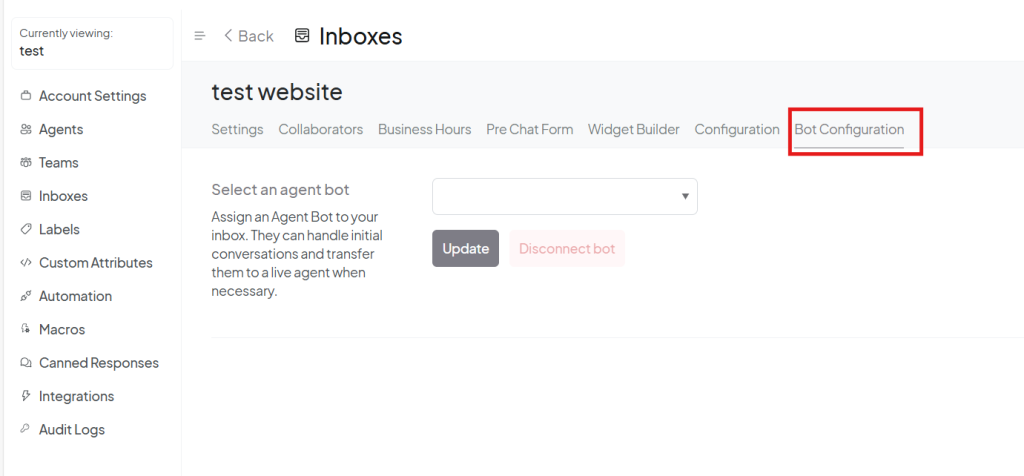
To edit an existing inbox, follow these steps:
Access Inbox Settings
- Navigate to the Settings section in the navigation bar at the top.

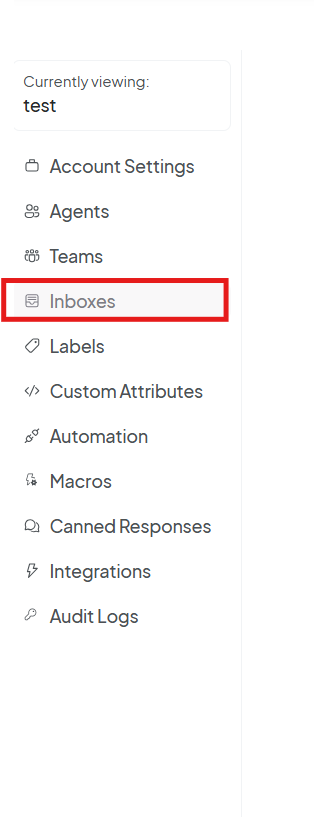
- In the sidebar, click on Inboxes.
Edit Inbox Information
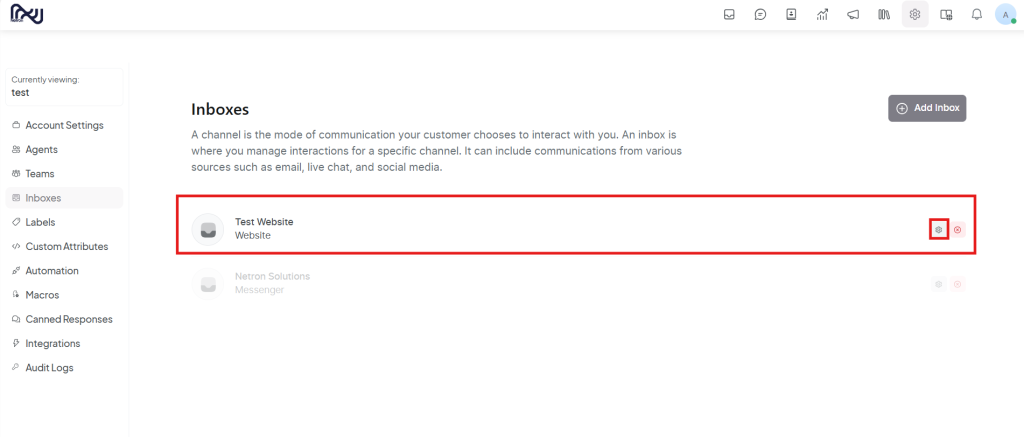
- Find the inbox you want to edit and click on the Edit Icon next to it.
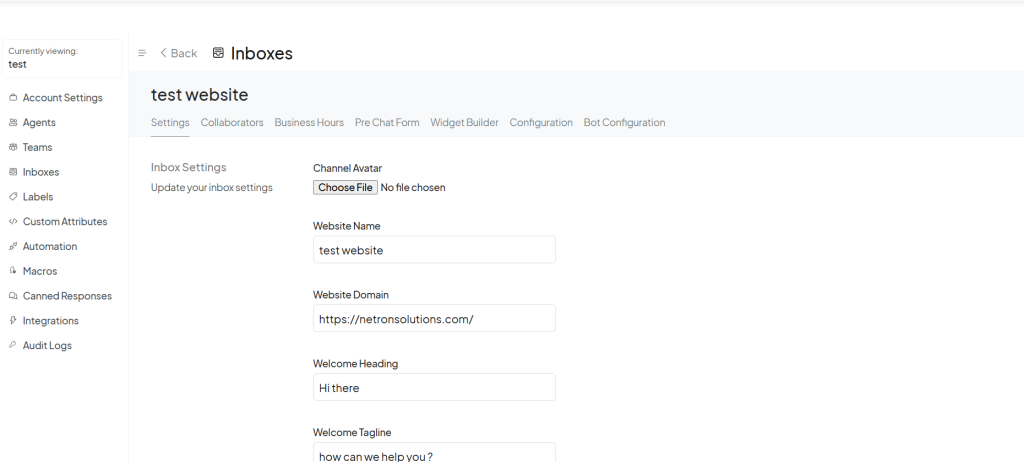
- A window will appear with the available settings and options for that inbox.
Edit Inbox Settings
In the settings window, you can edit the following information:
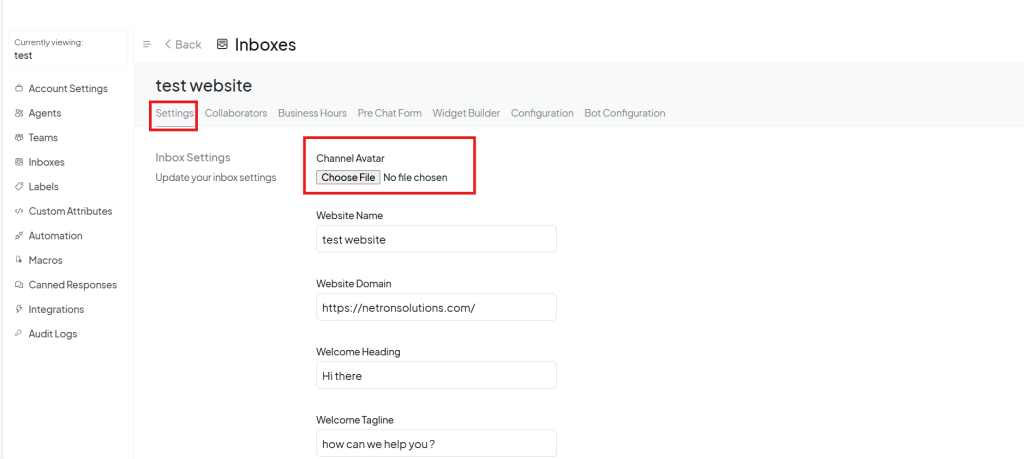
- Avatar: Change or update the avatar image for the inbox.
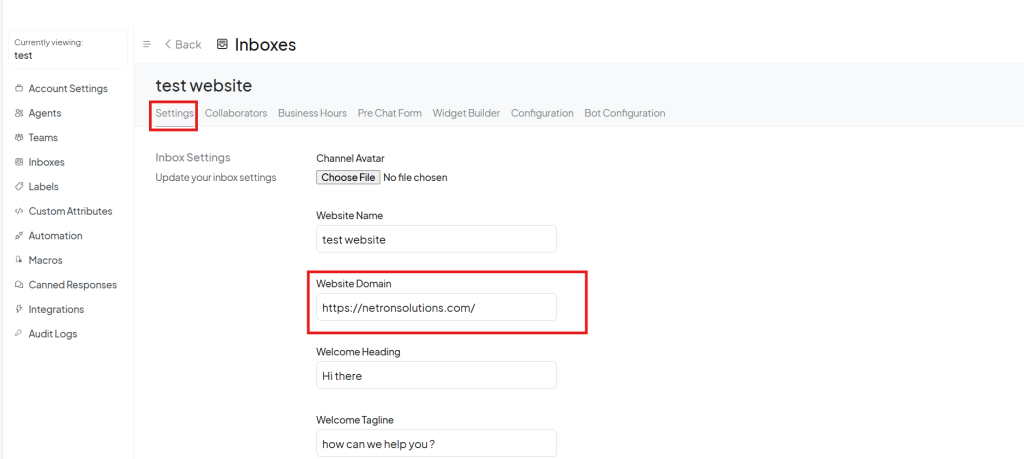
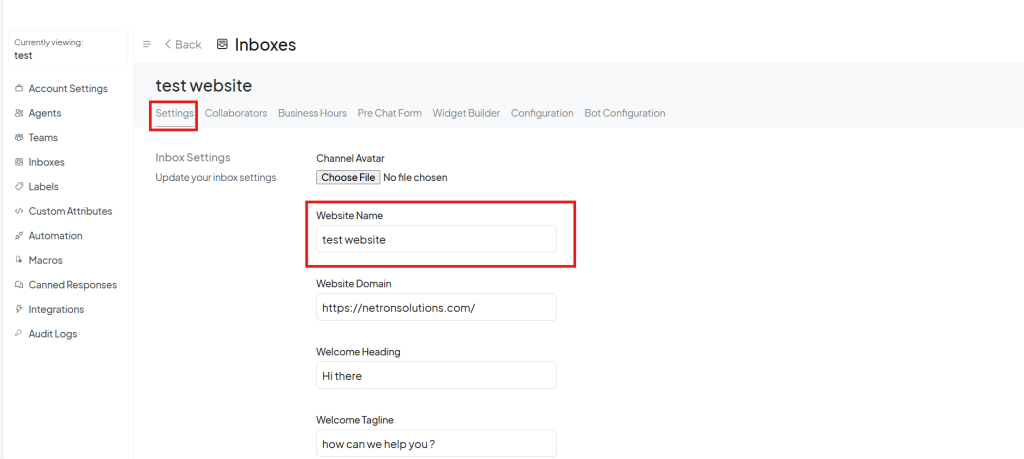
- Website Name & Domain: If the integration is with a website, edit the name and domain of the website.
- Color: Update the color to match your branding.

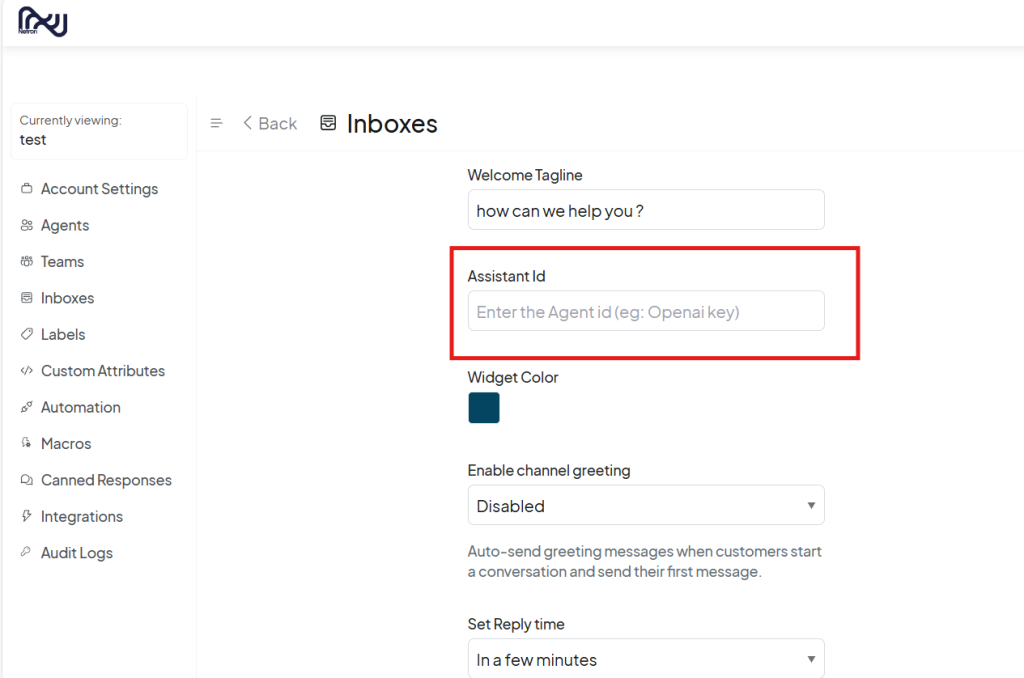
- Assistant ID: Add the agent ID, such as your Open AI key, for assistant configuration.
- Channel Greeting: Edit or set the channel greeting for the inbox.
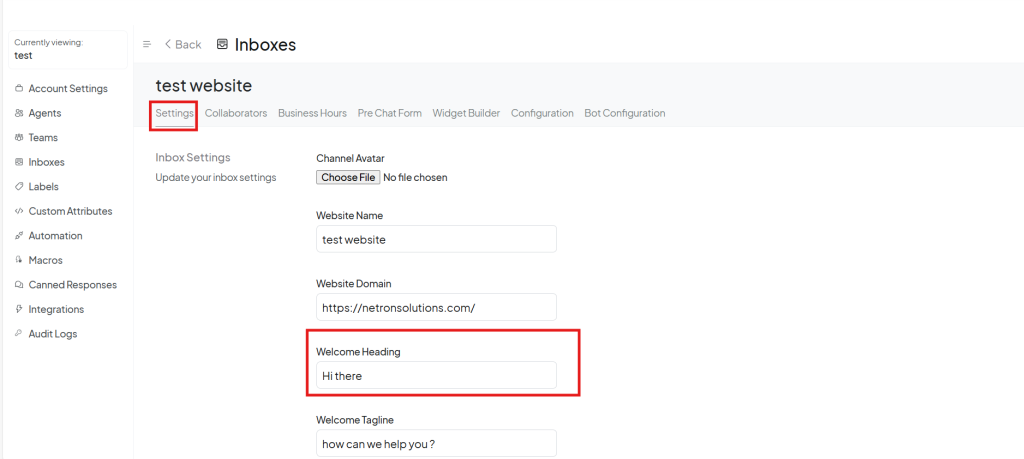
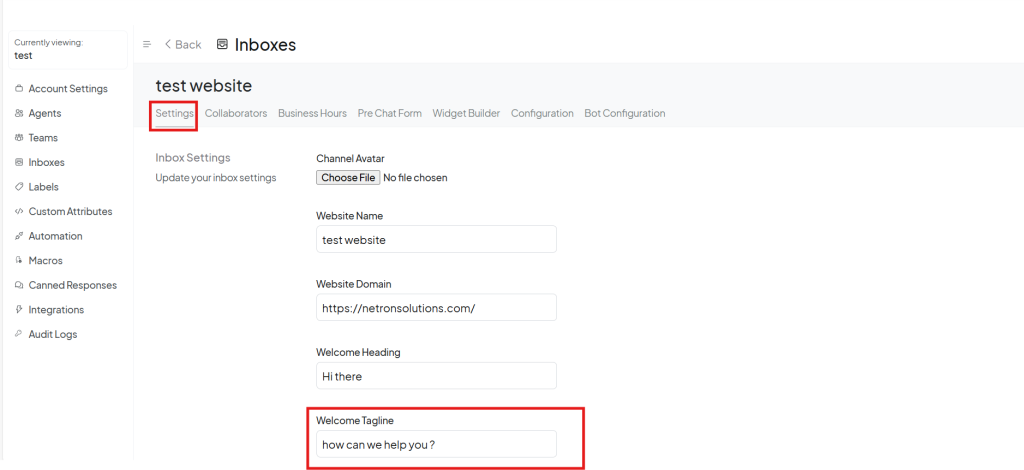
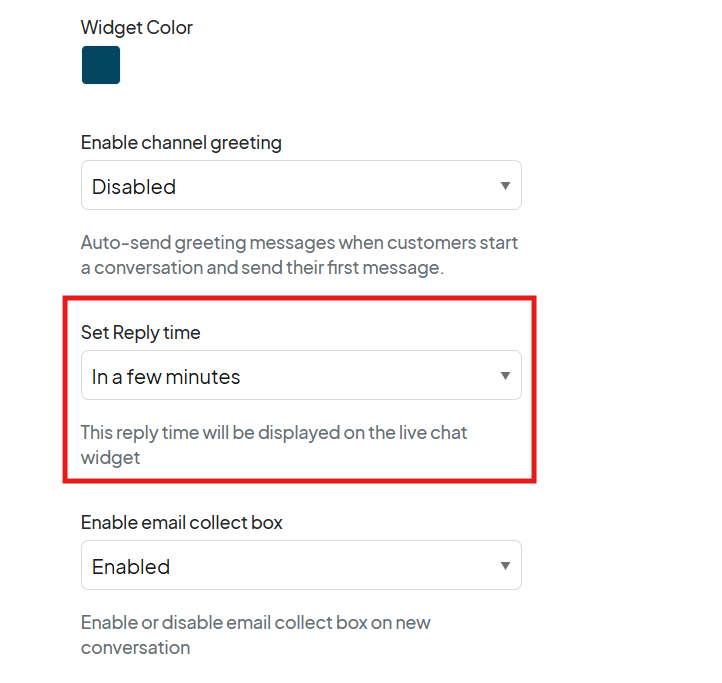
- Reply Time: Configure the time interval for automatic replies.
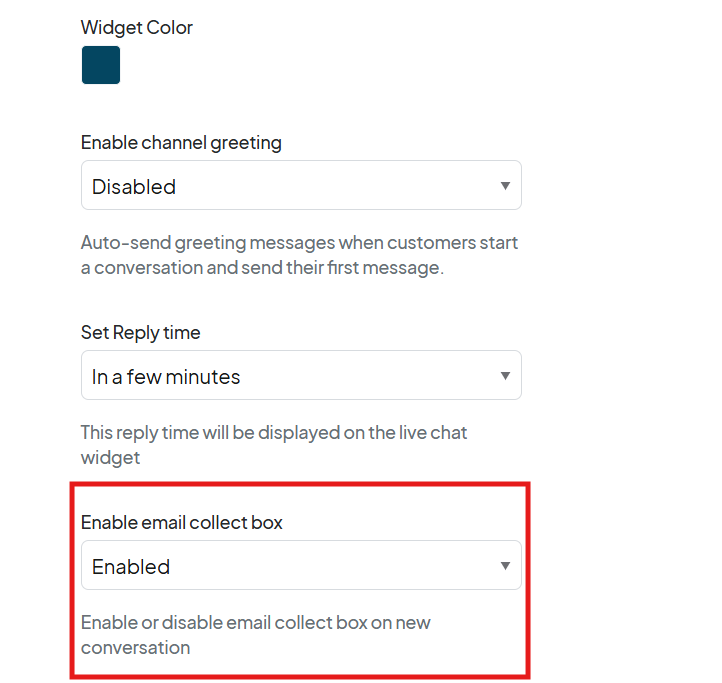
- Enable Email Collect Box: Enable or disable the email collect box for new conversations.
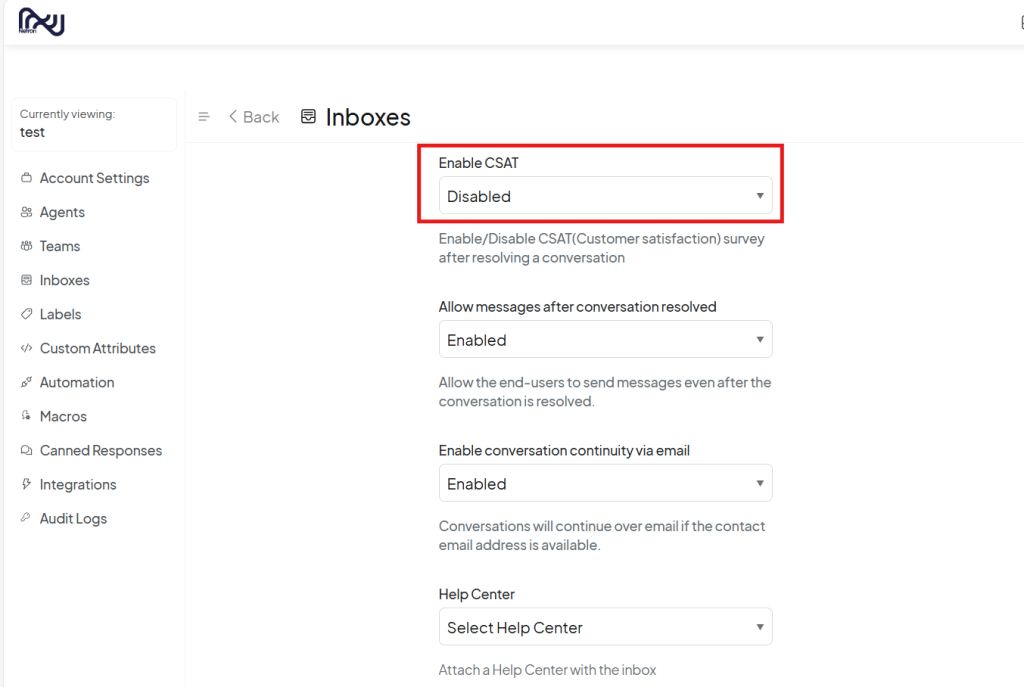
- Enable CSAT: Enable Customer Satisfaction surveys.
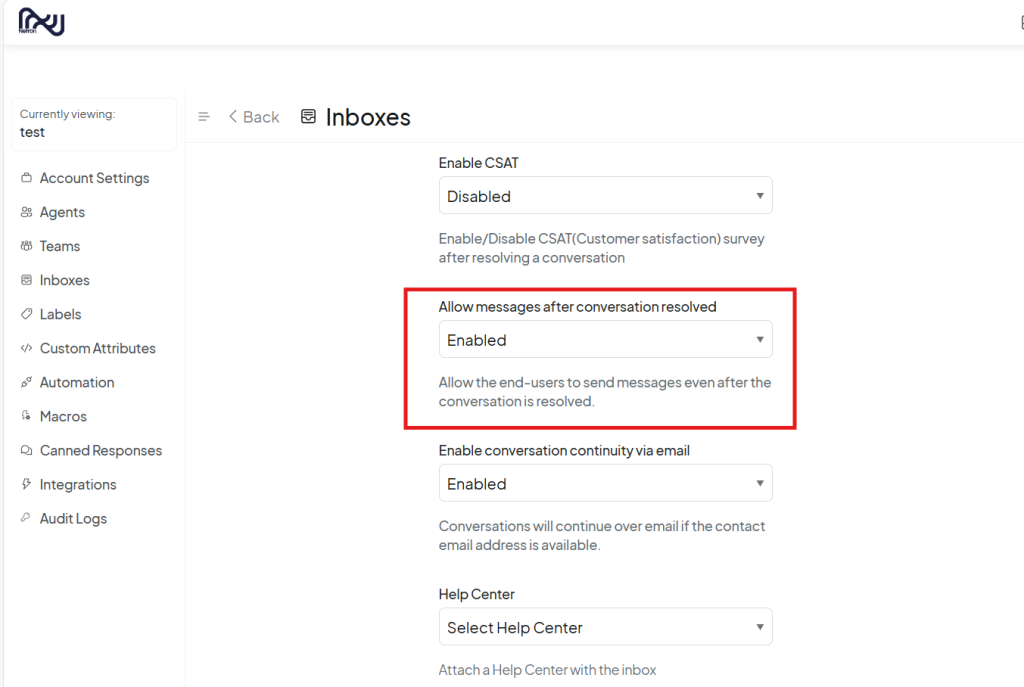
- Allow Messages After Conversation Resolved: Allow users to send messages after the conversation is marked as resolved.
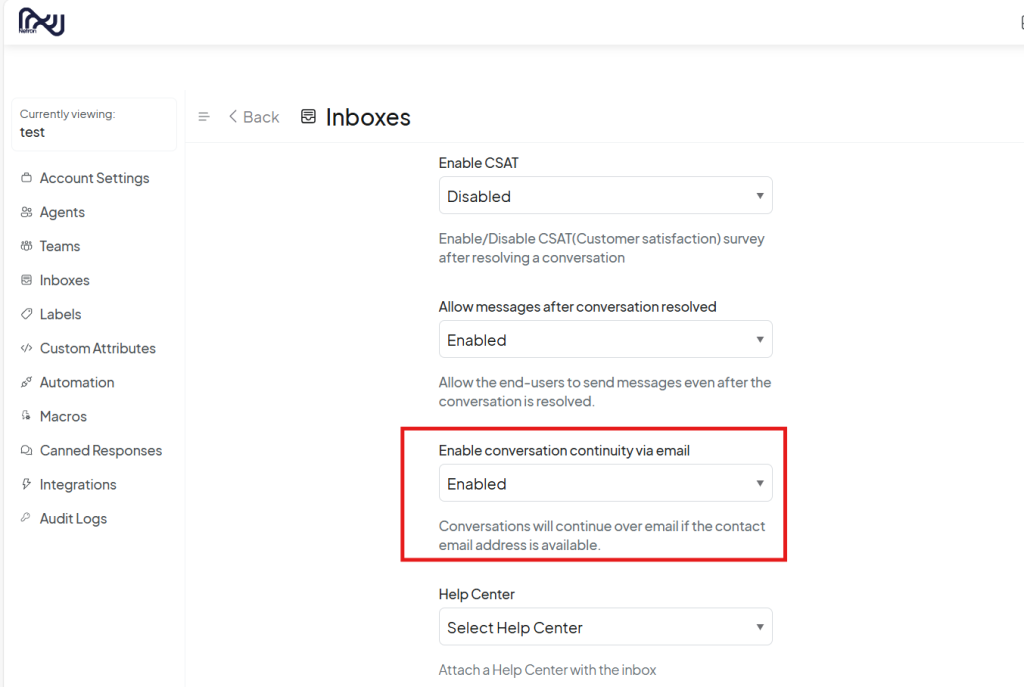
- Enable Conversation Continuity via Email: Enable or disable conversation continuity through email or the Help Center.
Edit Inbox Features
Within the settings tab, you can also adjust the following features:
- Display File Picker on the Widget: Allow users to attach files during conversations.
- Display Emoji Picker on the Widget: Allow users to send emojis.
- Allow Users to End Conversation from the Widget: Enable users to end the conversation.
- Use Inbox Name and Avatar for the Bot: Set the bot to use the same name and avatar as the inbox.

Collaborations Tab
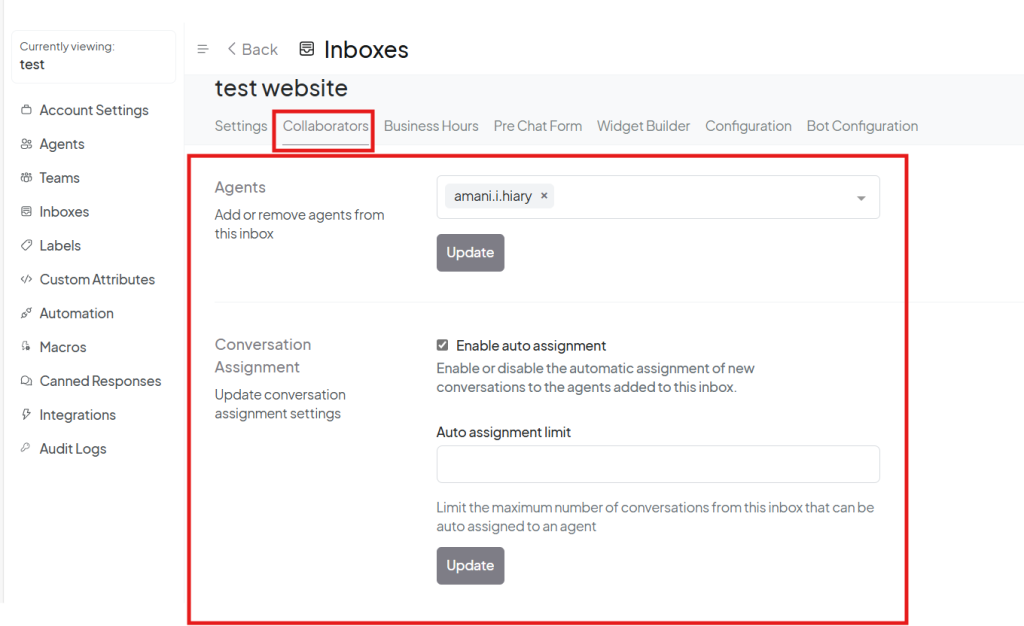
Under the Collaborations tab, you can:
- Add or Remove Agents: Assign agents to this inbox or remove existing agents.
- Enable Auto Assignment: Enable or disable auto assignment of conversations to agents.
- Limit Auto Assignment: Set a limit for the maximum number of conversations from this inbox that can be auto-assigned to an agent.
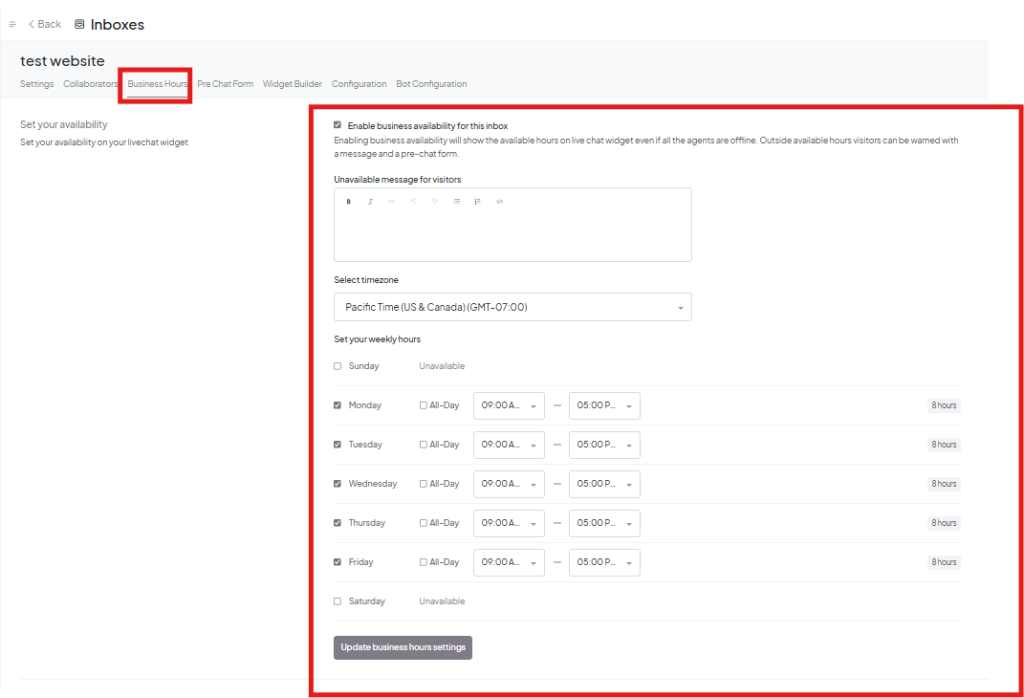
Business Hours Tab
In the Business Hours tab, you can set the working hours for the inbox to ensure that it operates within your specified time frame.
Pre-chat Form Tab
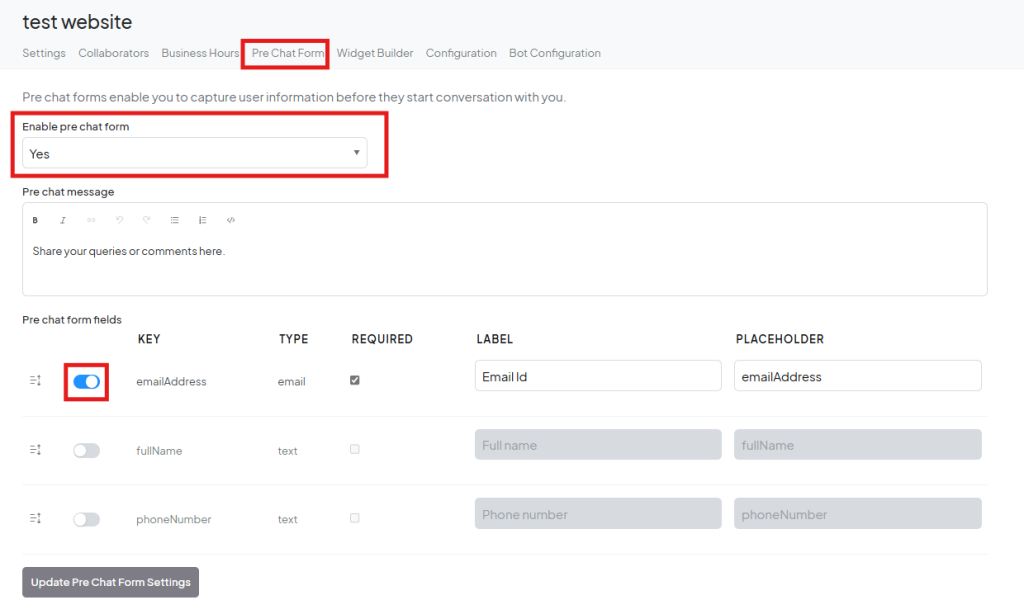
Under the Pre-chat Form tab, you can:
- Enable Pre-chat Form: Enable the form that clients will fill out before starting a conversation.
- Select Questions to Ask: Choose the questions to ask the client in the pre-chat form.
Widget Builder Tab (For Websites)
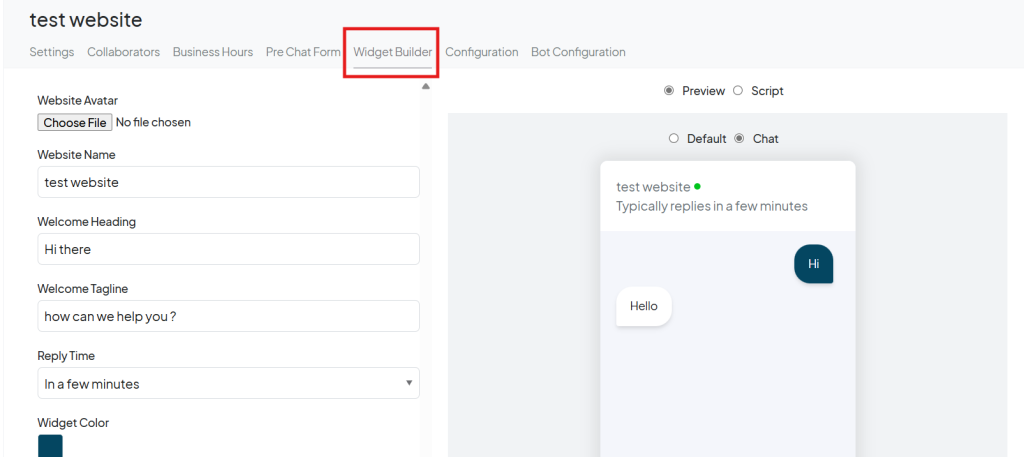
In the Widget Builder tab, you can configure the following settings for the website widget:
- Avatar: Change the avatar for the widget.
- Website Name: Update the website name.
- Welcome Heading: Customize the welcome heading.
- Welcome Tagline: Update the tagline that appears in the widget.
- Color: Choose a color for the widget that aligns with your branding.
- Reply Time: Set the expected reply time.
- Position of Widget: Choose whether the widget appears on the right or left side of the website.
- Widget Bubble Type: Select either a Standard or Widget Bubble type for the widget.
- Widget Bubble Launcher Title: Set a title for the widget’s launcher.
Configurations Tab
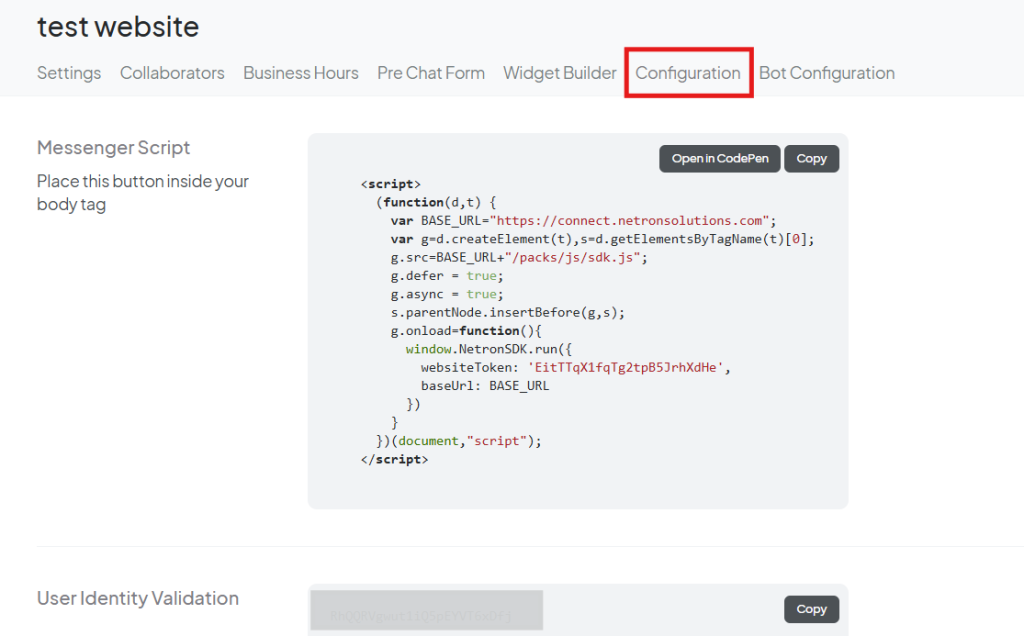
In the Configurations tab, you will find the following:
- Script for Website: Copy the script provided and add it to the header of your website for integration.
- User Identity Validation: Configure settings for validating the user’s identity.
- Enforce User Identity Validation: Enable or disable user identity validation.
Bot Configuration Tab
In the Bot Configuration tab, you can configure the bot settings that have been added to the system for this inbox.
